

How Can We Help?
Creating Passes
To add a new pass, click Passes > Manage Passes. Click the blue + sign on the top right corner.
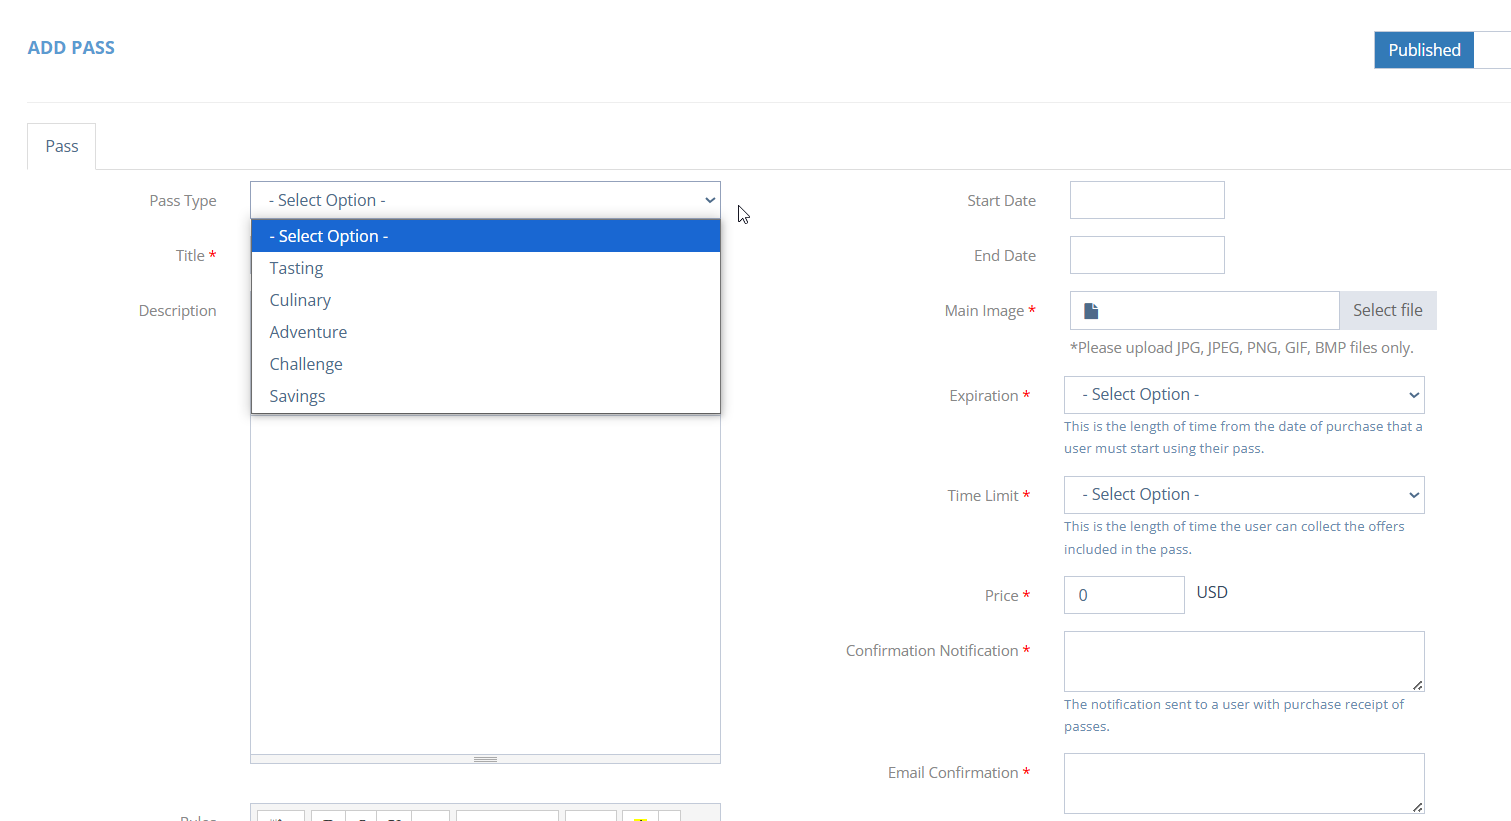
Select Pass Type:
- Tasting
- Culinary
- Adventure
- Savings
- Challenge – To add a challenge pass, please click here for instructions.
Add a title to your new pass.
Dates: Add a start date and end date.
Image: Add an image. The cropper tool is present to help maintain proper ratio for the appearance in the app.
Expiration: Select an option. This is the length of time from the date of purchase that a user must start using their pass. Example, if a user purchases their pass on July 1st, 2025, they have xx amount of days/months to use/complete the pass before it is expired.
Time Limit: Select an option. This is the length of time the user can collect the offers included in the pass. Example, if a user begins using their pass on July 1st, 2025 and the pass has a 1 week time limit, the pass will end on July 8th, 2025.
Price: Add any value to your pass. Note: 0.00 (Free) is acceptable. In the case of 0.00, app users will not be asked to present a credit cart upon checkout.
Description: Describe your pass and all of the great offers that users can redeem!
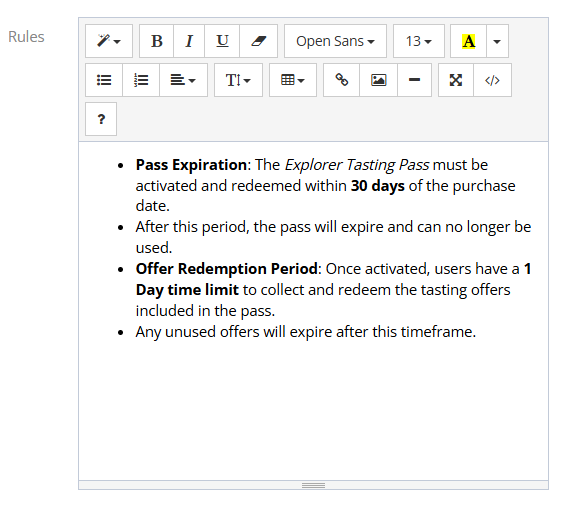
Rules: Note any/all rules that may apply to this pass. It is recommended to repeat the Expiration and time limits. Let app users know to redeem their offers in front of an employee. Remember to make it clear and easy to understand.
Confirmation Notification: This is the push notification that an app user receives when they purchase their pass. Customize it so that it generates excitement!
Email Confirmation: This is an email that is triggered as a receipt/proof of purchase.
Featured: If this is a featured pass, check this box. The app only allows 3 passes to be “featured” at a time. If you receive an error message here, that means you already have your max limit for featured passes and you must go “uncheck” one in order to check this new pass.
Click: Save and Close