
How Can We Help?
Adding a Trail/Tour Badge
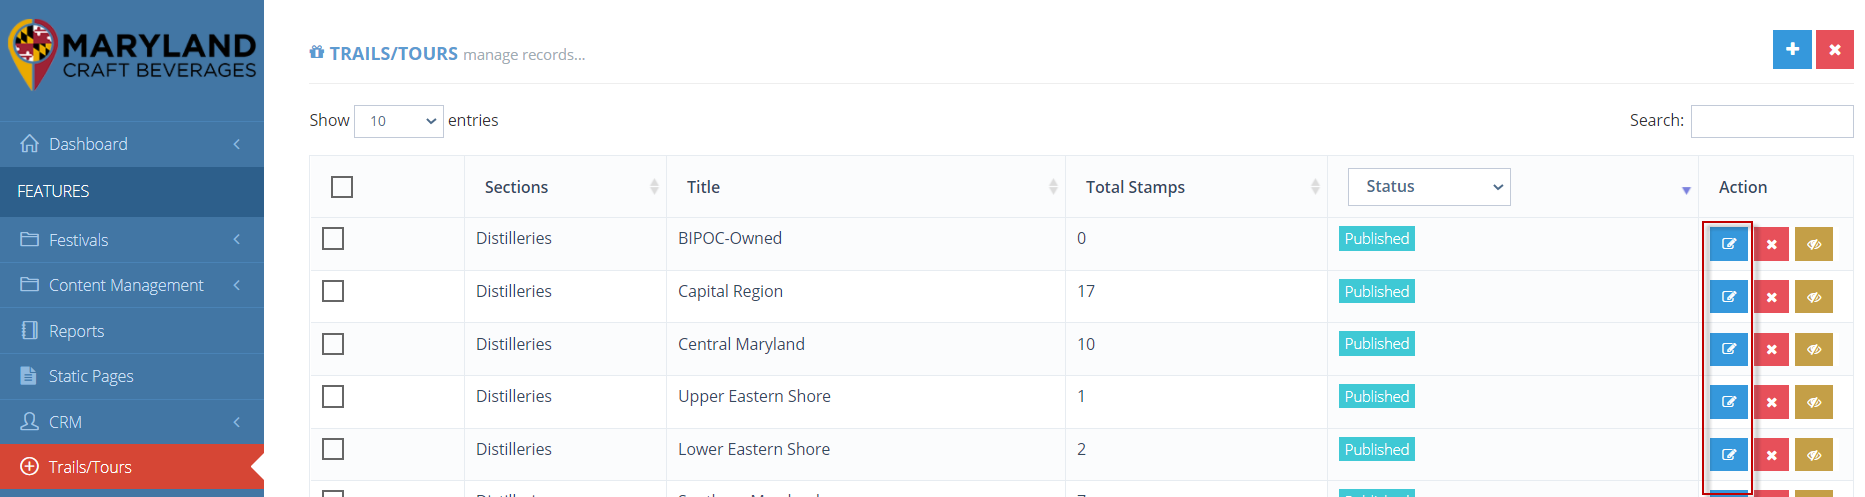
Badges are extremely popular when it comes to encouraging app users to participate. Login to business.localexplorers.com with your username and password and click “trails/tours” on the left hand menu. This will display your Trails/Tours Dashboard. To edit a trail/tour, simply click on the blue pencil icon to the right of the trail/tour.
To add a badge to your tour, click the checkbox at the bottom of the screen. More fields will populate on the right hand side.
If your app has sections, please select the section for which you’d like this badge to appear. (Note, if you do not have sections in your app, this field will not appear)
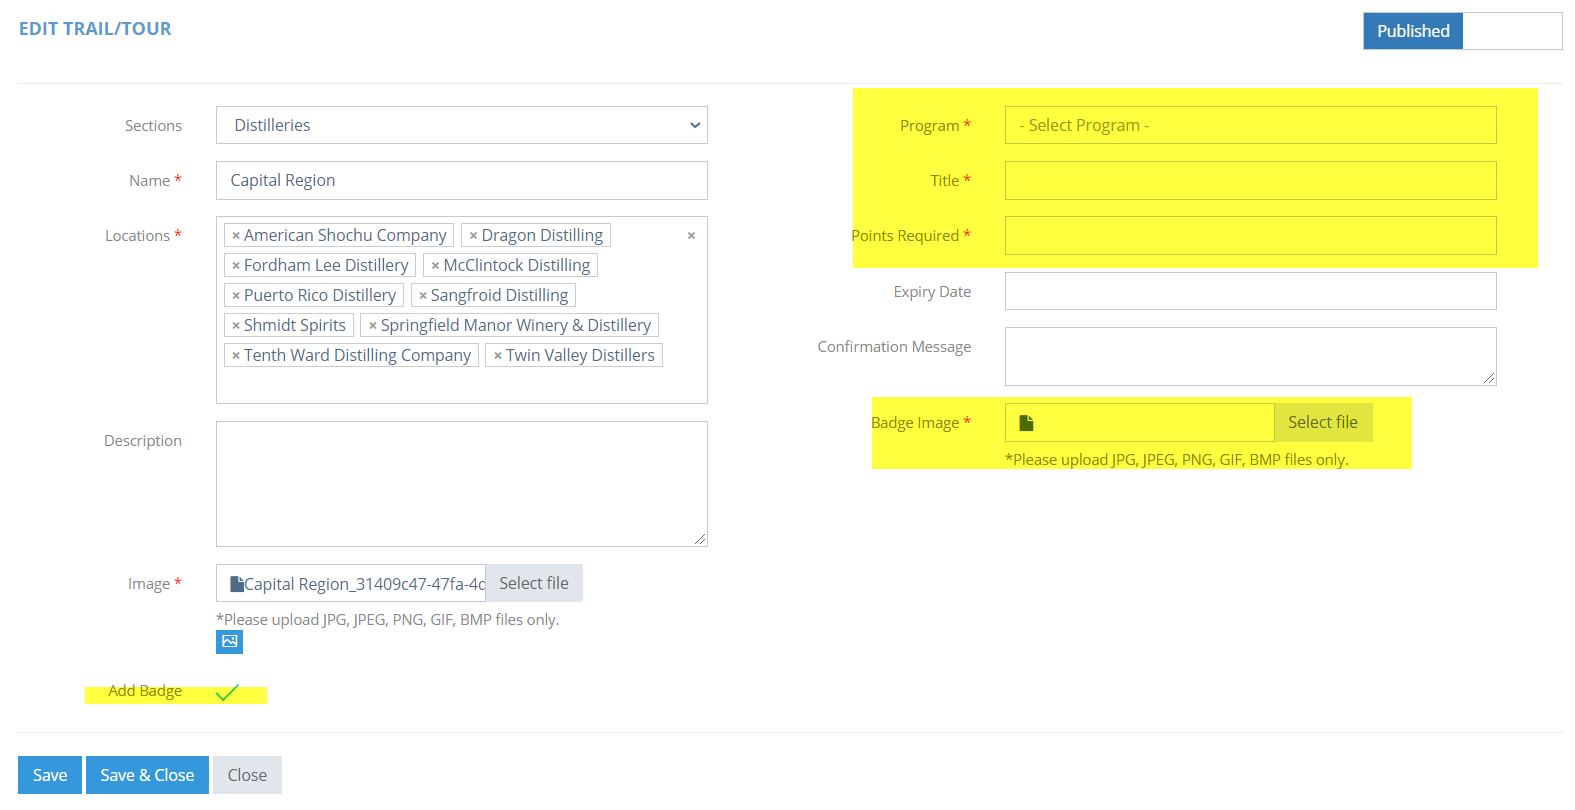
Create a title for your badge.
Add how many points are required? Example, if there are 25 locations in your trail/tour and you’d like to award an app user for visiting 15 locations out of 25 in that trail/tour, add “15”. If you’d like to give app users a badge for visiting all 25 locations, add 25.
Expiry date is optional. If your badge is temporary, you can add a date here. The badge will never leave their passport, but if there is an expiration date, the app user will not be able to earn the badge once the badge has expired.
Confirmation Message: This is not mandatory, but it’s highly recommended. Cheer on your app users! Make it something FUN! This is the message that pops up once they earn the badge. Encourage them to visit another trail/tour to earn more badges and collect them all!
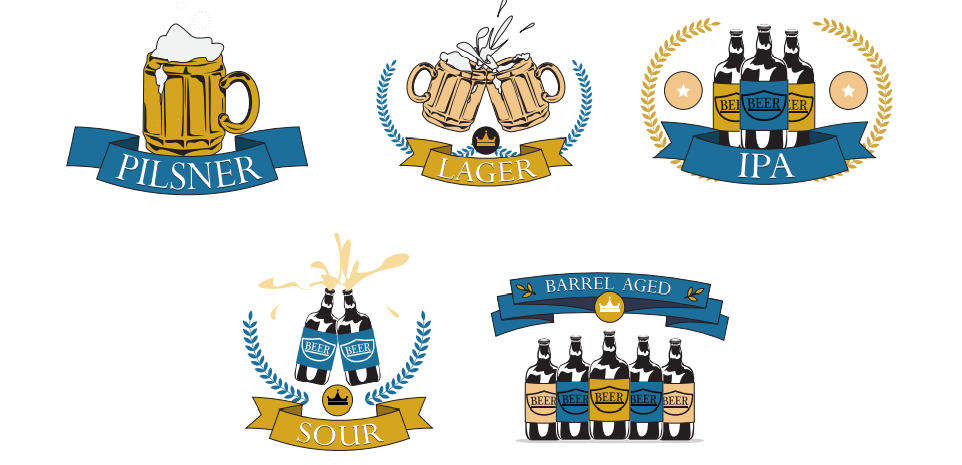
Badge Image: We recommend a square image for all badges in the app. If your badge is circular, please make the canvas square. 600 x 600 is an adequate size for badges. See below for badge samples and inspiration!