
How Can We Help?
Sending Multi-Lingual Push Notifications
With the latest multi-lingual feature in play, you may want to translate your push notifications so that those participating in the app can read it in their desired language! It’s simple.
First, log into your portal by visiting business.localexplorers.com
If you aren’t familiar with creating push notifications, click here to learn how: https://www.localexplorers.com/knowledge-base/push-notifications-hub-new-feature/
To add multi-lingual push notifications, click the blue + sign in the top right corner to get started.
Fill out all details as you would for a standard push notification.
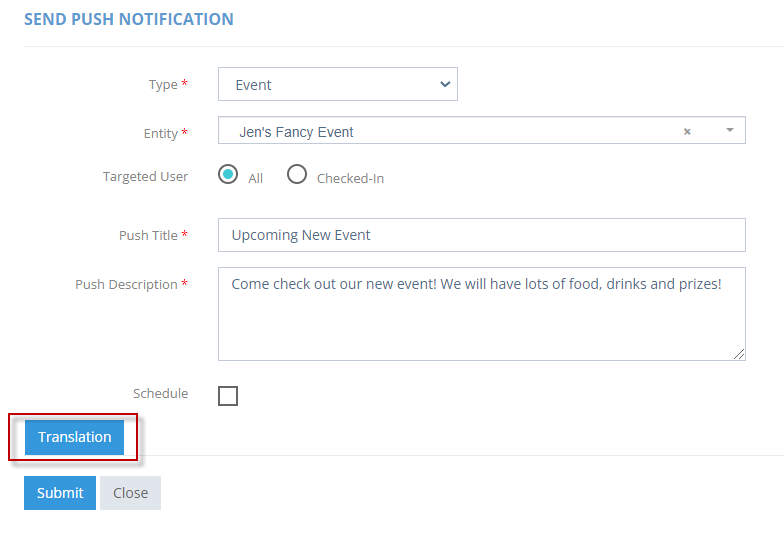
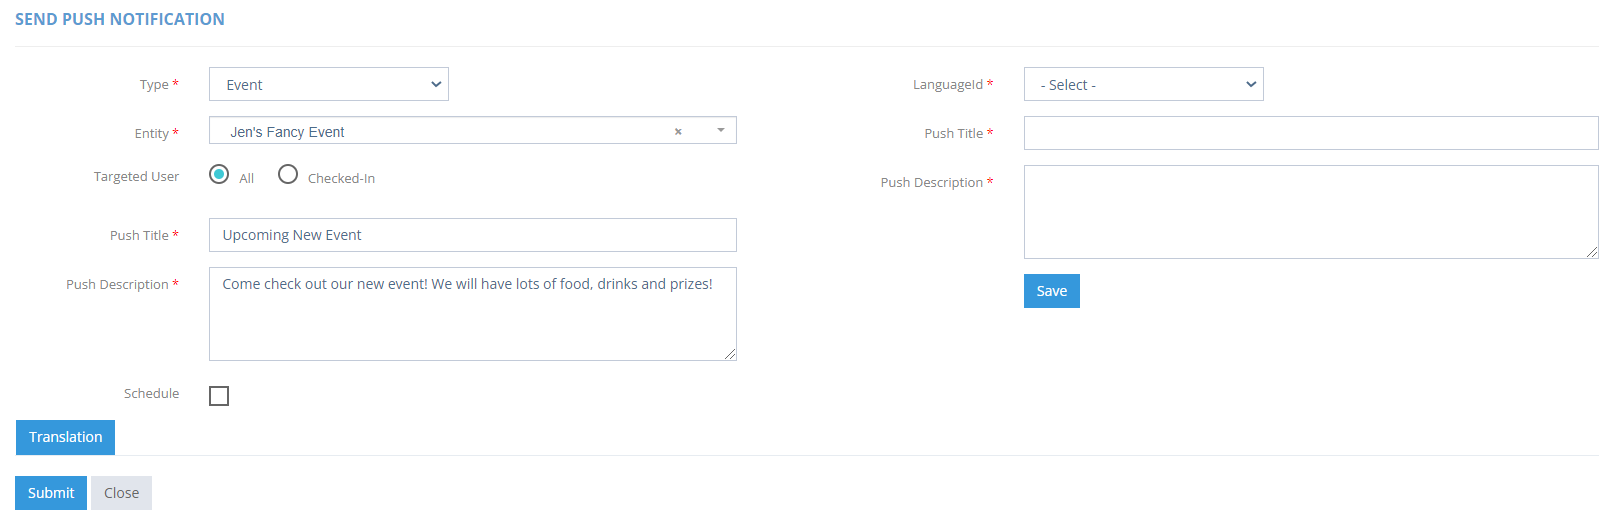
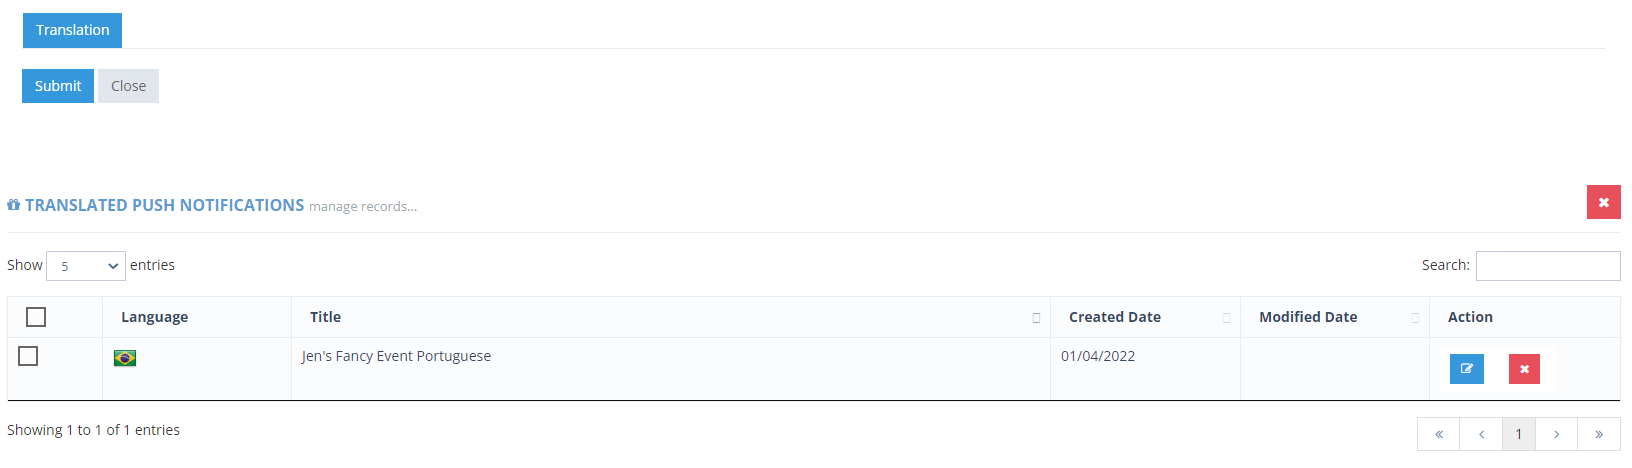
Under the “Schedule” checkbox, you’ll see the word “Translation”. Click this button. It will open up a translation section on the right hand side of the screen, next to the English version. Click “Language ID” and pick which language you’d like to use for this translation. You can translate the title and description. Click “Save”. The translation will appear on the “Translation” chart at the bottom of the screen.
If there are more translations associated with this push notification, click “Translation” again and follow the above steps to add the new language IDs.
Click “Submit” to finalize the push notification.
Note: This translated push notification will push with the English one. If you click “submit”, it will go instantly. If you have it scheduled, it will appear in the dashboard for editing until it is complete.
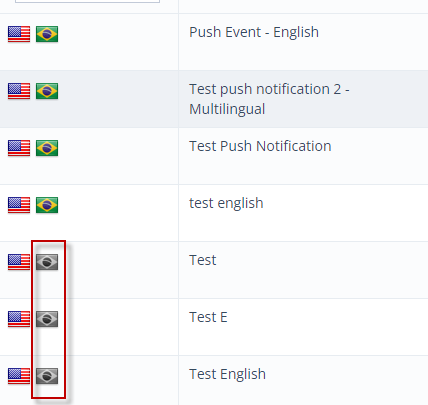
The dashboard displays flags which will allow you to see which language is translated or not. If the flag is gray, it has not been translated. If the flag is colored, it has a translation added.