

How Can We Help?
Adding Additional Locations
Log into your portal with your username and password as association admin.
On the left hand menu, click “Members” > Invitation List
Search for the company which you’d like to edit. Click their name – you are now in their portal and can edit their details!
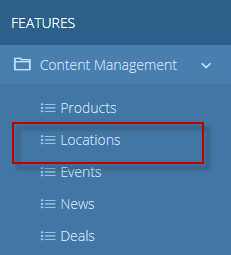
On the left hand menu, under “Content Management”, select “Locations”
On the left hand menu, under “Content Management”, select “Locations”
From your Locations Dashboard, click the blue + sign in the top right corner to add a new location.

Fill out the Add Location form
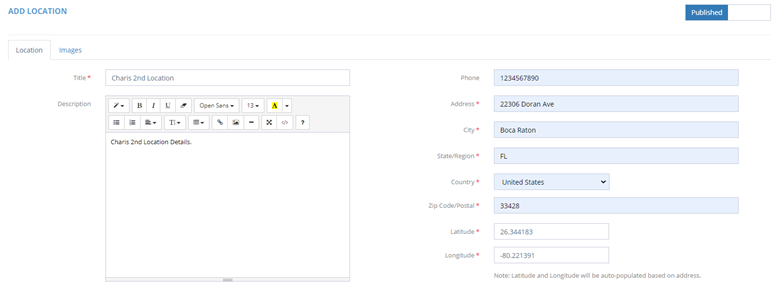
Fill out as many fields as possible to create a detailed location detail page!
*Note* The Latitude and Longitude will auto-populate when the full address is added.
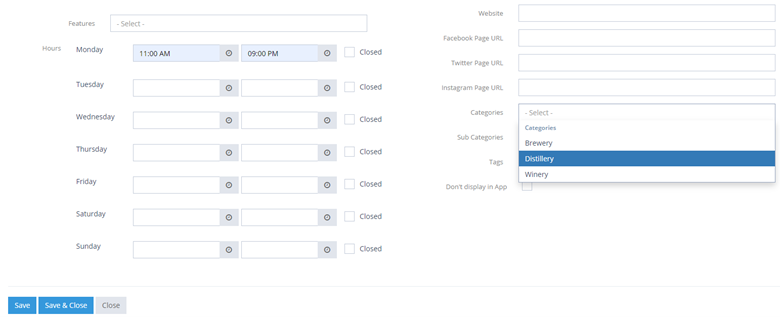
It is important to click the “Category” box and add a category for your location. Add as many features as you’d like, URL’s for social media and hours of operation. Click save to save your changes and your location.
Click the “images” tab to add images for your location.
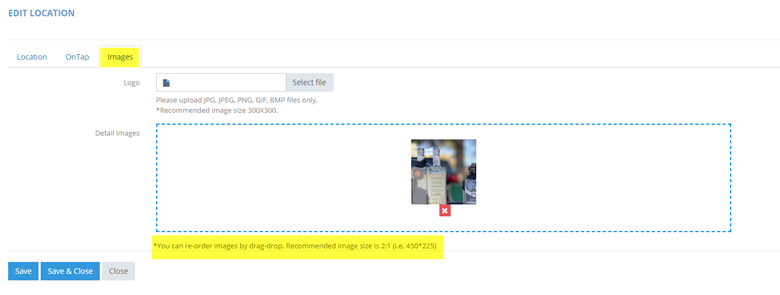
Click “Save and Close” to save your location and return to the locations dashboard.
Note: This location will not be automatically included in the passport. To add it to the passport, click here.